How to Set Up Custom Sender Email in Digitally: A Complete Guide
Learn how to set up Custom Sender Email in Digitally. Verify your domain, configure DNS records, and send order and delivery emails from your own business email address.
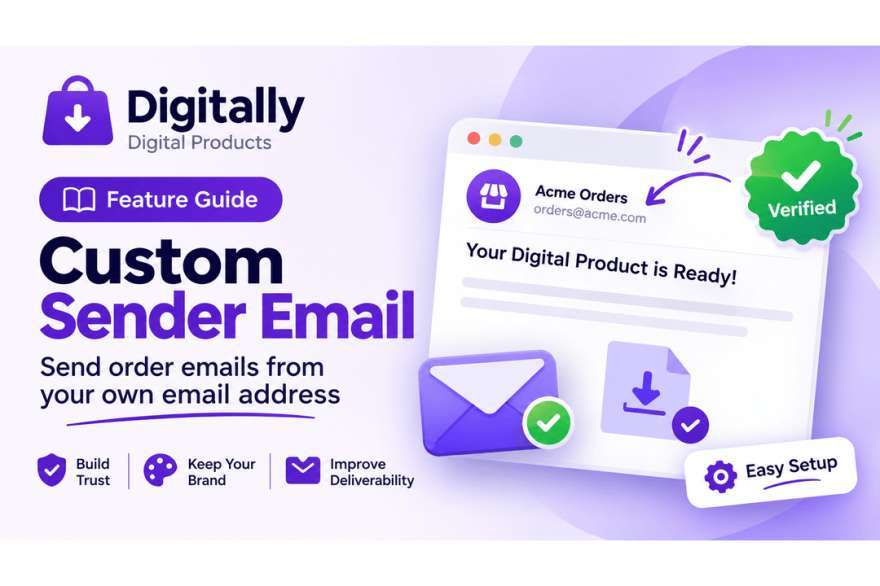
The Custom Sender Email feature in Digitally allows merchants to send order and digital product delivery emails using their own business email address instead of Digitally's default sender address.
For example, instead of customers receiving emails from a default Digitally email address, they can receive them from your branded address, such as orders@yourstore.com.
This helps you build customer trust, maintain consistent brand identity, and improve email deliverability.
Availability: Custom Sender Email is available on paid plans only. Free-plan users will see an upgrade option instead of the setup form.
Benefits of Custom Sender Email
- Build Brand Trust: Customers recognize your business in their inbox.
- Professional Communication: Send order and delivery notifications using your own business email address.
- Consistent Branding: Keep your email communications aligned with your store identity.
- Improved Deliverability: Authenticate your domain to help establish trust with email providers.
How to Set Up Custom Sender Email
Follow these steps to configure your custom sender email.
Step 1: Open Custom Sender Email Settings
- Log in to your Shopify admin.
- Open the Digitally app.
- Navigate to Settings

4. Navigate to Custom Sender Email.

Step 2: Enter Your Sender Information
You'll see two fields that you need to complete:
- From Name: Enter the sender name customers will see in their inbox. For example,
Acme Orders. - From Email: Enter your business email address using a domain you own. For example,
orders@acme.com.
Important: Free email addresses such as Gmail, Yahoo, Outlook, and Hotmail are not supported. You must use an email address associated with your own custom domain.
Step 3: Verify Your Domain

After entering your sender information, click Verify Domain.
Digitally will generate the DNS records required to authenticate your domain.
Step 4: Add DNS Records to Your Domain
A table containing the required CNAME and TXT records will appear.
To complete this step:
- Log in to your domain provider, such as GoDaddy, Cloudflare, or Namecheap.
- Open your domain's DNS management settings.
- Add the DNS records displayed in Digitally.
- Copy each record using the copy button next to its value.
- Save your DNS changes.
Important Notes:
- Make sure you enter the DNS records exactly as provided.
- If you already have a DMARC record, keep your existing record. Do not create a second DMARC record.
- You can use the Learn how to add DNS records link in Digitally for additional guidance.
Step 5: Re-verify Your Domain
Once you've added all the DNS records, return to Digitally and click Re-verify Domain.
DNS changes can take up to 48 hours to propagate.
Don't worry if your domain isn't verified immediately. Digitally automatically checks your DNS records every 30 minutes for up to 72 hours. The page also refreshes automatically.
You don't need to keep clicking the verification button.
Step 6: Confirm Successful Verification
Once your domain is successfully verified, the status badge will turn green and display Active.
<PRIVATE>
Your Custom Sender Email is now configured!
From this point onward, your applicable order and delivery emails will be sent using your verified custom email address, unless you have custom SMTP configured.
Understanding Domain Verification Statuses
You may see one of the following statuses during the setup process:
Pending Verification
Your DNS records haven't been confirmed yet.
What to do: Check that you've added all DNS records correctly and allow time for DNS propagation. Verification can take up to 48 hours.
Failed
Your domain couldn't be verified within the 72-hour verification window.
What to do: Review your DNS records, correct any missing or incorrect entries, and start the verification process again.
Active / Verified
Your domain has been successfully verified.
What happens next: Your order and delivery emails will use your custom sender email address.
About the Email Verification Code
In some cases, Digitally may display a message asking you to enter a verification code sent to your email address.
This step is only required for certain domains. Many domains are validated automatically by Brevo and don't require a code.
If you see the verification code prompt:
- Open the inbox of the email address you entered in the From Email field.
- Check your spam or junk folder if the email isn't visible.
- Enter the verification code when prompted.
- If you don't receive a code, click Re-send code.
If the code still doesn't arrive, the sender may already have been validated automatically. Click Re-send code once. If no code is required, the system may activate your sender automatically.
Important Things to Know
Which Email Address Will Be Used?
- If your Custom Sender Email status is Active, all order, delivery, and resend emails will be sent from your verified custom email address.
- If your custom sender isn't active, Digitally will continue using its default sender address.
Which Sender Name Will Customers See?
The sender name depends on your email template settings.
- If you've configured a custom Email From Name in the email template editor, that name will be displayed.
- Otherwise, Digitally will use the From Name configured in Custom Sender Email.
The email address will always come from your verified custom sender.
What If I Have Custom SMTP Configured?
If you've configured your own SMTP settings under Settings → Email → SMTP, your SMTP configuration takes priority over Custom Sender Email.
Can I Change My Custom Sender Email?
Yes! You can update your sender name or email address whenever needed.
Simply enter the new From Name and From Email, then click Verify Domain. Your previous sender configuration will be replaced.
What Happens If I Remove My Custom Sender Email?
Click the Remove button to remove your custom sender configuration.
After removal:
- Digitally will stop using your custom sender email.
- Your order and delivery emails will return to the default sender address.
- Your domain will remain registered in Brevo, making it quicker to configure again if you add the same domain later.
Troubleshooting and FAQs
1. I clicked Verify Domain, but my status still says Pending Verification. What should I do?
DNS changes can take up to 48 hours to propagate. Make sure you've added all the records correctly and wait for verification. Digitally automatically checks your domain every 30 minutes for up to 72 hours. You can also click Re-verify Domain to trigger another check.
2. My emails are still coming from the old email address. Why?
First, check your Custom Sender Email status. It must display the green Active badge.
If your status is Pending Verification or Failed, Digitally will continue using its default sender address.
Also, check whether you've configured custom SMTP under Settings → Email → SMTP, as SMTP takes priority over Custom Sender Email.
3. My emails are going to spam or showing an unfamiliar address like brevosend.com. What should I do?
This can happen when your custom sender domain isn't active yet. Complete domain verification and confirm that the status displays Active.
4. Can I use my personal Gmail or Yahoo address?
No. Free email addresses from Gmail, Yahoo, Outlook, Hotmail, and similar providers are not supported.
You must use an email address associated with a custom domain that you own, such as orders@yourstore.com.
5. Does Custom Sender Email cost extra?
No additional payment is required for this feature if you're already subscribed to an eligible paid Digitally plan. It isn't available on the Free plan.
6. How long does domain verification take?
DNS changes can take up to 48 hours to propagate. Digitally automatically checks your domain every 30 minutes for up to 72 hours.
7. Do I need to click Re-verify Domain repeatedly?
No. Digitally automatically checks your DNS records every 30 minutes and refreshes the page. You can click Re-verify Domain if you want to trigger another check.
Conclusion
Custom Sender Email helps you create a more professional and branded email experience for your customers.
By verifying your own domain and configuring your sender information, you can send order and digital product delivery emails using your business email address instead of Digitally's default sender.
If you need assistance with the setup process, feel free to contact the Digitally support team. We're always happy to help!