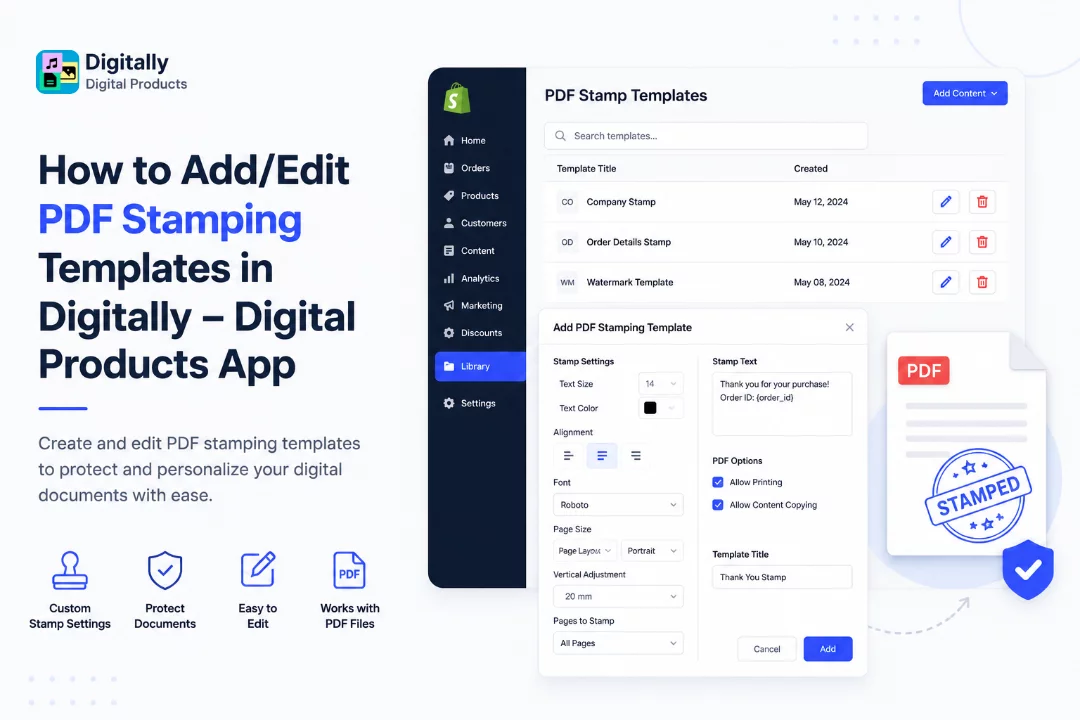
PDF stamping adds an extra layer of protection and personalization to your digital documents. Here’s how to create or edit stamping templates using the Digitally – Digital Products app.
✅ Step 1: Go to the Library Page
From your Shopify dashboard, open the Digitally – Digital Products app.
Click on the Library tab to access all your digital content management tools.

✅ Step 2: Open PDF Stamping Templates
In the Library, select PDF Stamp Templates.
This section displays all existing templates you've created.

✅ Step 3: Add a New PDF Stamping Template
- Click the Add Content button in the top-right corner of the Library.

- In the modal that opens, click Add PDF Stamping.

- A form will appear with customizable options:
🛠 Customize Your Stamp Settings:
- Text Size
- Text Color
- Alignment (e.g., center, left, right)
- Font (choose from available styles)
- Page Size (e.g., A4, Letter)
- Page Layout (Portrait or Landscape)
- Vertical Adjustment (margin from the bottom)
- Pages to Stamp (e.g., all pages, specific pages)

✒️ Stamp Text:
- Enter the text that will appear stamped on the PDF (e.g., order ID, customer name, etc.)
🔒 PDF Options:
- Allow Printing – Check if customers should be able to print the file.
- Allow Content Copying – Check to enable text copying from the PDF.

🏷️ Template Title:
- Give your template a unique and identifiable name.

- Once finished, click the Add button to save your template.

✅ Step 4: Edit an Existing Template
- In the PDF Stamp Templates list, find the template you want to update.
- Click the Edit button.

- A modal will open with all current settings. Make your changes.
- Click Update to save your changes.

🎉 That’s It!
Your PDF stamping template is now ready and can be applied to any digital product that includes PDF files. Easily manage and update templates whenever needed.