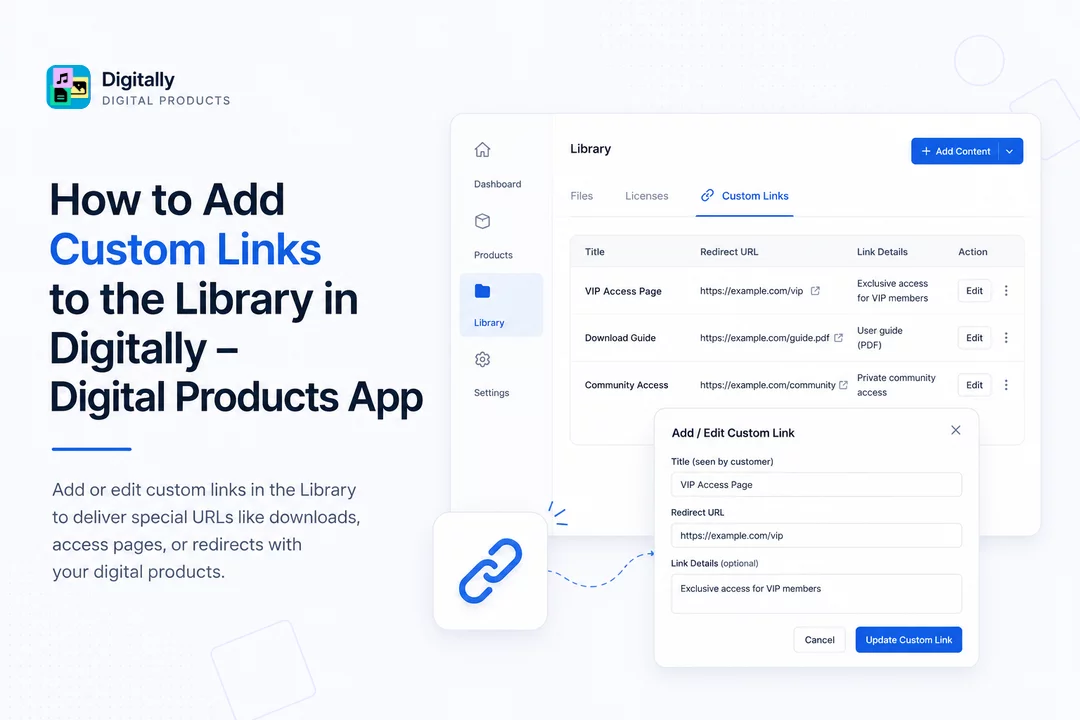
Custom links let you deliver special URLs (like downloads, access pages, or redirects) as part of your digital products. Here’s how to add or edit them using the Library in Digitally – Digital Products.
✅ Step 1: Open the Library Page
From your Shopify admin, open the Digitally – Digital Products app.
Go to the Library page to manage all digital content.

✅ Step 2: Go to the Custom Links Section
On the Library page, click on Custom Links to view all previously added links.
A table will appear showing all existing custom links.

✅ Step 3: Edit Existing Custom Links (Optional)
If you want to update an existing link:
- In the table, locate the link you want to change.

- Click the Edit button in the Action column.

- A modal will appear. Update the following fields:
- Title (seen by customer)
- Redirect URL
- Link Details (optional)

- Click Update Custom Link to save your changes.

✅ Step 4: Add a New Custom Link
If you want to add a new custom link to the Library:
- Click the Add Content button at the top right of the Library page.

- In the modal that opens, click on Custom Links.

- Fill in the following fields:
- Title (seen by customer)
- Redirect URL
- Link Details (optional)
- Click Update Custom Link to save it to your Library.
🎉 That’s It!
You’ve now successfully added or updated custom links in the Library. These links will be available for use when creating digital products in the future.